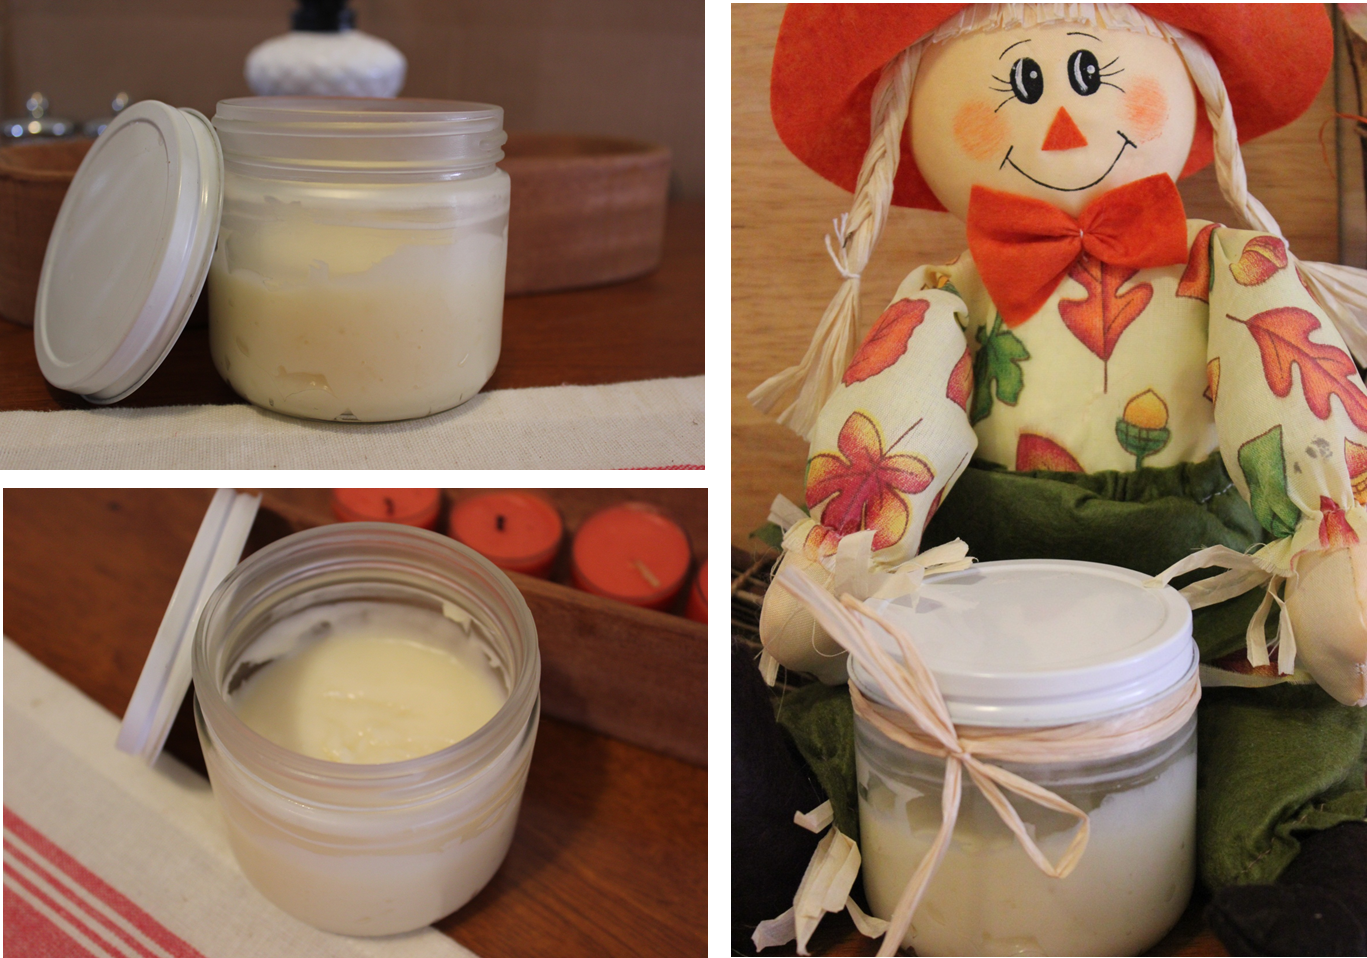
As the season turns to the cooler months and the bite in the wind is nipping at my skin, my face finds itself in need of a little TLC. I'm not much of a primper on my best day and spending a lot on facial creams that are loaded with chemicals and preservative is not my idea of a good time, so what's a wind-chapped girl to do? Make her own all natural, 100% edible (chemical and preservative-free) facial cream, of course!
 What you'll need:
1/2 cup of all natural oil (almond, olive, grape seed, jojoba, etc.)
find a list of carrier oil properties here
1/4 cup of coconut oil or Shea butter
1/4 cup of beeswax
Saucepan/boiler
Canning jar & several rims or other high temperature safe bowl
Small jar for the finished product (I reused a honey jar)
Optional items:
1 tsp vitamin E oil; Essential Oils or Extracts; Honey
What I chose:
3 TBS Almond Oil; 3 TBS Grape Seed Oil & 2 TBS Jojoba Oil to equal 1/2 cup of natural oils
1/4 cup of coconut oil
1 tsp Vitamin E oil
1 tsp honey
a little less than 1/4 cup of beeswax
I added the following essential oils: Rosemary (10 drops); Tea Tree (5 drops) and - not pictured - Lavender (15 drops)
Step 1:
Gather your materials
Step 2:
Measure and place all ingredients except the essential oils into the canning jar or bowl
Step 3:
 Fill saucepan/boiler with a little water. Place canning rims in bottom or pan and place the canning jar or bowl on top of the rims. The rims keep the bowl off of the bottom of the pan. The water level should come about 2/3 up the side of the bowl or jar but not to the top.
Step 4:
Melt the contents of the jar/bowl until the wax is smoothly incorporated, stirring occasionally. Do not boil!
Step 5:
Remove from pan and add the essential oils
Step 6:
Pour into a bowl (I used my KitchenAid bowl but any bowl that you can mix in will do) and place in the freezer to firm up a bit - do not freeze
Step 7:
Remove from freezer and mix with a stand or hand mixer until smooth and creamy and the consistency of cake batter. Test the "feel" on the back of your hand. If you prefer, add a little corn starch to cut down on any greasy/oily feeling and whip a minute or two more.
Step 8:
Spoon the cream into your storage jar, wipe any spills with a napkin and close. Store on your counter top or if you prefer in your refrigerator. The cool cream can help with puffiness.
That's it! You have all natural - so good for you - facial cream which can be used for up to 6 months.
If the cream starts smelling odd discard it and make another batch.
this post may have been shared at one (or all) of these wonderful blog hops!


Oh - this sounds lovely! Thank you so much for the "recipe". I think I would like to add some lemon oil also, because I am starting to get some brown spots I would like to lighten up. I would bet this would make a wonderful Christmas gift! Thanks
ReplyDeleteYou are so welcome! I'm glad you found this helpful. I too am thinking along the lines of Christmas gifts. Lemon oil sounds great for this, would add a nice vibrant note to the cream, I think. Thanks again for stopping by!
DeleteThanks for sharing your recipe. I like that I have all the ingredients. I stopped buying skin care products awhile back because of the expense and what is in them. I look forward to trying your recipe out:) Thanks for sharing it on the Art of Home-Making Mondays!
ReplyDeleteThanks JES, I am really liking this cream, there are so many possibilities for using different essential oils too. Thanks for stopping by again!
DeleteI made this and I am loving it so far! Thanks for sharing it with us!
ReplyDeleteYay! I'm so glad you are liking it. Thanks for letting me know how yours turned out.
DeleteHi, A blissful day to you. I used to make a facial cream for my own personal use, but this recipe looks fantastic too, I'll gonna try it one of these days. Thank you for this wonderful recipe.
ReplyDeleteThank you for this recipe. Can I substitute Avocado oil for the grape seed oil?
ReplyDeleteHopefully she answers too but I didn't see why you couldn't substitute that. I did less coconut oil and added Shea and it's still setting up right..I also used half and half jojoba and almond oil for the grapeseed and it's still fine
Delete